Chapter 1: From Requirements to Final Video – A Step-by-Step Breakdown of 3D Animation Production for Facial Massagers
Key Point 1: Requirement Alignment – Clarity on "What" Trumps "How"
At the project kickoff, requirement alignment is critical. You need to clarify the following with the animation team:
Core Product Selling Points: Is it "microcurrent technology," "3D kneading massage heads," or "intelligent temperature control"? The animation should focus on 1-2 most differentiated features.
Target Audience: Is it for beauty salons (emphasizing professionalism) or end consumers (focusing on user experience)? This determines the animation style (tech-driven/lifestyle) and pacing (fast-paced demo/slow-motion close-ups).
Application Scenario: For the official website homepage (30-second brand exposure), e-commerce platforms (15-second feature explanation), or trade show screens (1-minute in-depth demo)? Different scenarios require varying levels of visual precision and information density.

Key Point 2: 3D Modeling & Material Rendering – Making "Virtual Products" More Real Than the Physical Object
Modeling is the "skeleton" of 3D animation, requiring detailed construction from "basic shapes" to "movable components":
High-Poly vs. Low-Poly Models: Start by sculpting high-detail models (e.g., the texture of massage heads) with ZBrush, then optimize into low-polygon models using topology tools (for easier rigging). This is akin to "drawing a detailed sketch first, then simplifying it into a movable doodle."
Materials & Textures: Use tools like Substance Painter to give models "realistic skin-like texture" – metal massage heads need reflective properties (adjust metallic/roughness parameters), while silicone bodies require soft tactile feel (add normal maps to simulate fine lines).
Rigging & Weight Painting: Add "bones" to movable parts (e.g., massage head rotation axes, body buttons) and set weights (controlling movement range). For example, massage heads need to simulate "forward/backward pressing + left/right rotation" – incorrect weight settings will make movements stiff.

Key Point 3: Animation Production & Post-Production – Conveying Value Through "Dynamic Storytelling"
Animation is the key to "making the product speak," advancing in three steps:
Storyboard Execution: Translate the initial script into specific visuals (e.g., "At 5 seconds: camera pans down from the top of the product, slowly zooming in on the massage head"), and note action details ("massage head moves back and forth at 2Hz, with a red indicator light flashing").
Dynamic Demonstration & Feature Visualization:
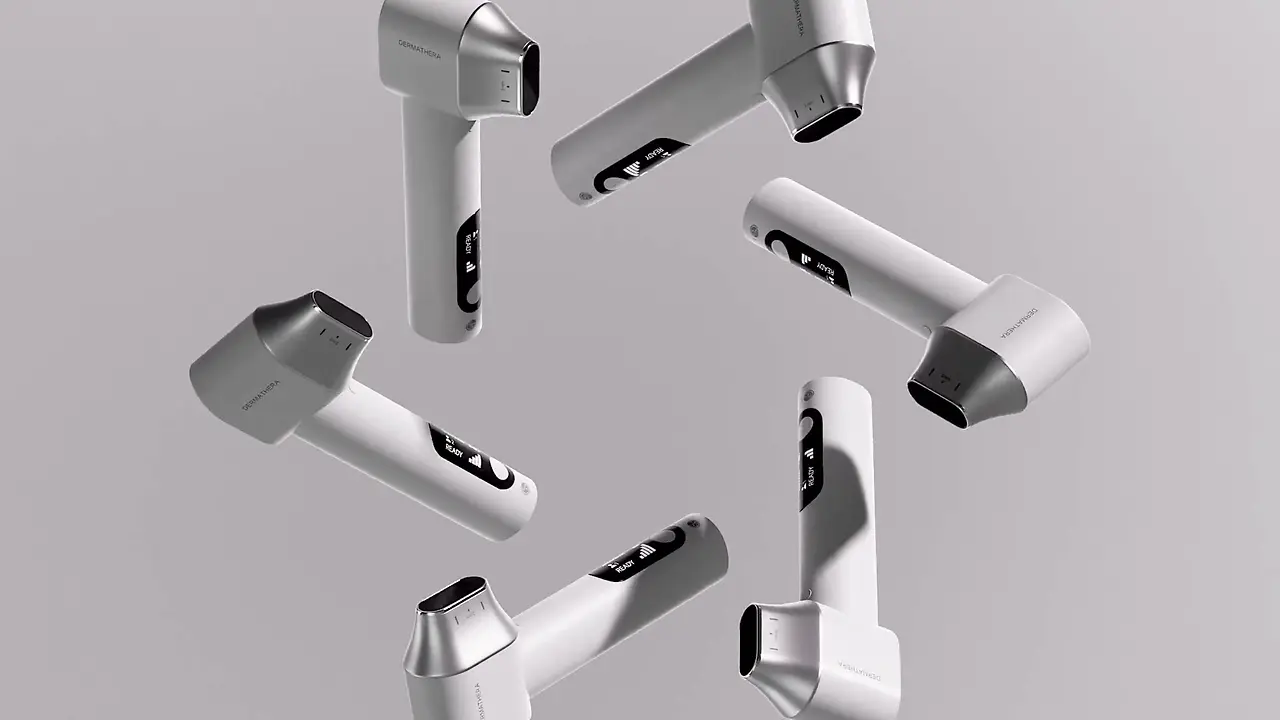
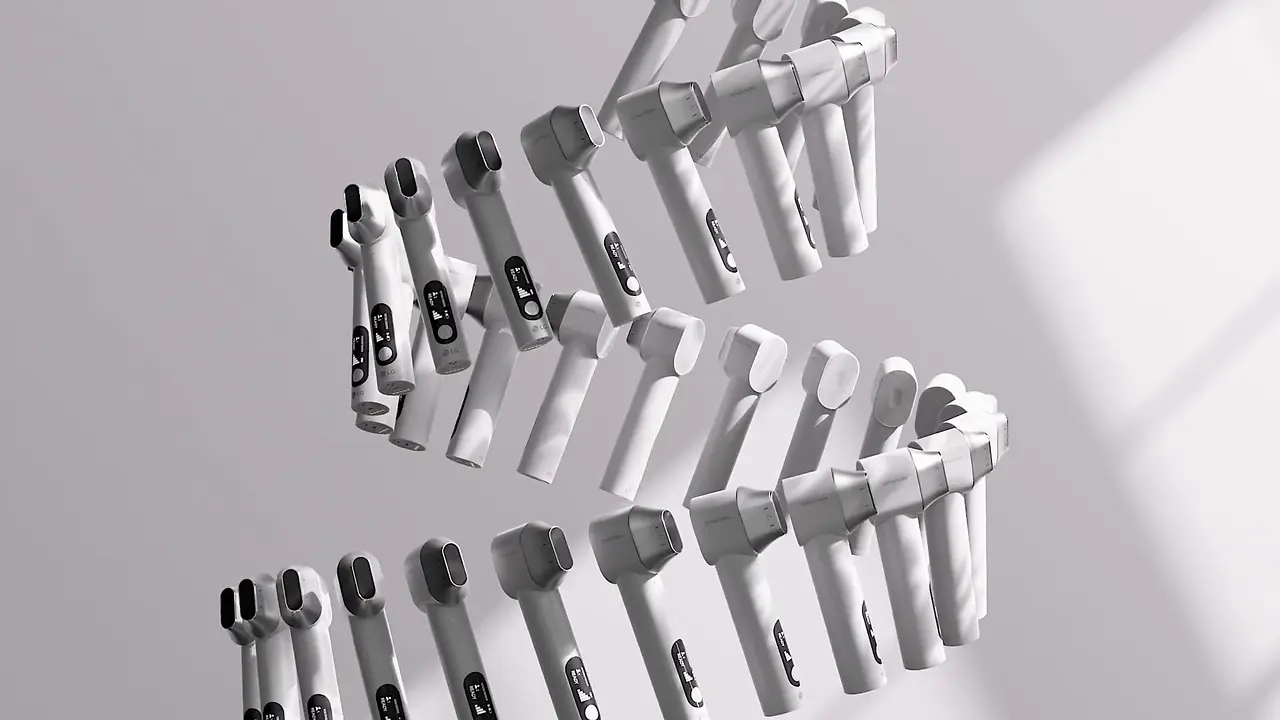
Product Showcase: Use "360° rotation + close-up" to highlight design;
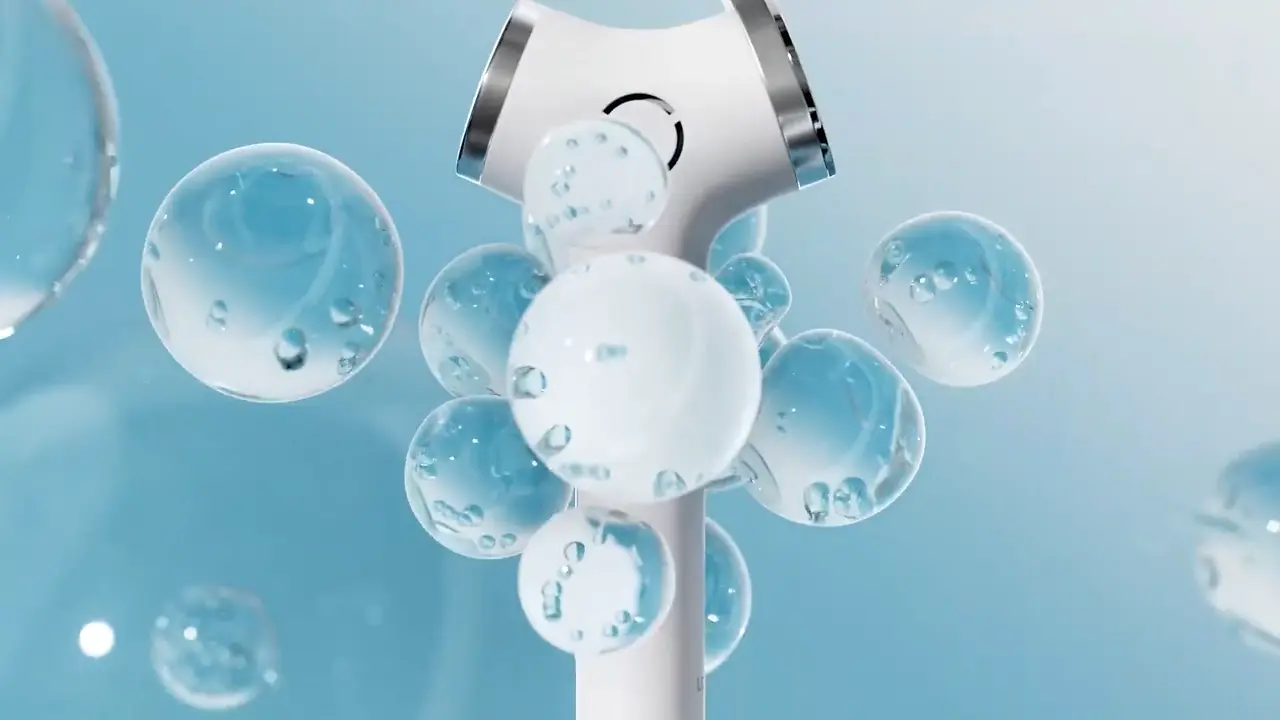
Function Demonstration: Use particle effects to simulate "microcurrent penetration" (blue light spreading from the massage head to the face), or overlay data charts ("temperature rises to 42°C in 3 seconds") for credibility;
Usage Scenarios: Add virtual characters (simplified face models) to simulate "home/beauty salon use," enhancing immersion.
Post-Production & Optimization: Adjust color grading (cool blue for tech, warm yellow for lifestyle), add sound effects (soft "touch" sounds when the massage head contacts skin), and calibrate subtitles (key specs like "3 intensity levels" must be clear).

Chapter 2: Pitfall Avoidance – How to Select a Reliable Product Animation Video Producer
Subsection 1: Evaluate Case Studies – Experience with Similar Products Matters More Than "Big Company Titles"
Prioritize suppliers with animation case studies for beauty devices/3C products over teams that only produce "corporate promotional videos." Request:
Full Final Videos: Assess visual precision (smoothness of models), animation fluency (no choppy movements), and information delivery efficiency (whether core selling points are clear within 15 seconds).
Production Drafts: Review modeling wireframes (check if topology is reasonable), storyboards (ensure alignment with the final video), and rendering test shots (verify material accuracy against the physical product).
Subsection 2: Clarify the Process – Reject "Black Box Operations," Insist on Phase-Delivery Milestones
Reliable suppliers proactively provide standardized process timelines and allow clients to confirm progress at each stage:
Requirement Confirmation Stage (before signing the contract): Deliver a creative brief (including storyboard drafts and style references) for mutual approval before work begins.
Modeling Stage (1-2 weeks): Provide low-poly preview renders (check if the appearance matches the design draft).
Animation Stage (2-3 weeks): Share dynamic test videos (verify smoothness of movements, e.g., whether massage heads rotate without jitter).
Rendering Stage (1 week): Deliver a rough cut (check if sound effects and subtitles align with visuals).
Summarize and appreciate the video version
由此开始...